Introduction
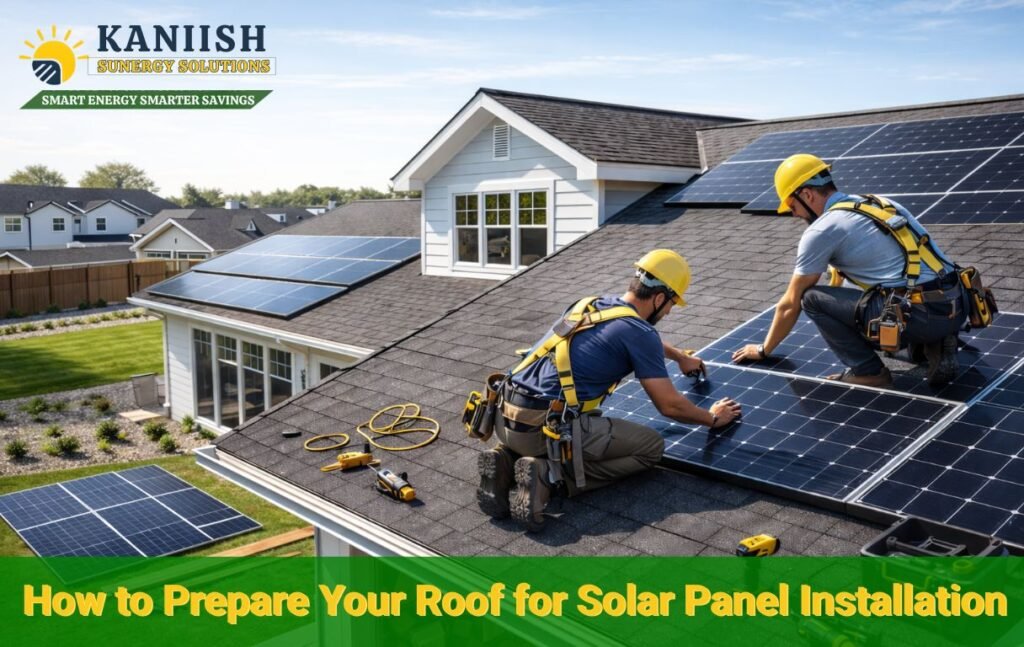
As solar power becomes more popular, many homeowners are installing rooftop solar panels to cut energy costs and help the environment. However, you can not just put a solar system on any roof without preparation. Utilizing a roof that is properly prepared will result in easier installation, and the most effective working solar panels for consumers.
1. Assess Your Roof Condition
Begin by assessing the condition of your roof. Solar panels typically last 20–25 years, so your roof needs to remain strong enough to support them long term. Look for leaks, cracked shingles, or structural damage.
If your roof has reached its end of life, fix or replace it before installing solar panels. This method saves you from costly removal and reinstallation down the line.
2. Check Roof Orientation and Angle
Check your roof’s direction and angle next. Solar Panel Efficiency South-facing roofs get the most sunlight. But east- and west-facing roofs can be good options, too, depending on your energy needs.
You also want to take the roof’s pitch into account. The 15° to 40° angle makes it easier for you to catch sunlight.
3. Evaluate Structural Strength
Make sure your roof can support the extra weight of solar panels and mounting systems. Most contemporary roofs can bear this load, but be sure to have a pro evaluate the structure.
Older buildings or roofs built with less robust materials might need to be reinforced.
4. Clear Obstructions and Shade
Remove anything that prevents sunlight from hitting your roof. Shadows from trees, chimneys and nearby buildings often impede solar panel performance.
Pretty much trim any branches that overhang the panels or have them not placed in such a way to impede energy generation dramatically.
5. Review Roofing Material Compatibility
Your roofing material affects the installation process directly. For example:
a) If you want solar installed on asphalt shingles, the type of roof that’s easiest and most common.
b) It also helps that metal roofs work extremely well
c) Specialized mounting systems are needed for tile or slate roofs
By knowing your roof type, you assist the installers in selecting the right equipment while avoiding damage.
6. Plan Electrical System Upgrades
Test your home’s electrical system prior to installation. Ensure your electrical panel is capable of supporting the solar system’s capacity.
You may need to upgrade your panel or wiring so that solar power can safely enter your home.
7. Obtain Necessary Permits and Approvals
Obtain the necessary permits and approvals from local authorities or housing associations. This process is typically handled by certified solar installers who ensure that everything meets regulations.
8. Choose a Reliable Solar Installer
Choose a reliable and seasoned solar installation company. A professional installer will examine your roof, determine the best system design and installation process for you, and get it up in a safe and efficient way.
Always read customer reviews, certifications and warranties before you decide.
9. Schedule a Professional Inspection
Schedule a repair inspection prior to installation. Inspectors will assess the integrity of your roof, electrical system and overall readiness.
Taking this step will save you a world of trouble from types to install it and finished it without any hassle.
Conclusion
First of all, the best opportunity to ensure a successful solar energy system begins with proper roof preparation before going solar. By carefully evaluating your roof, removing potential obstacles, and upgrading essential systems as needed, you can significantly improve solar efficiency. Moreover, this proactive approach not only enhances performance but also ensures long-term durability and maximum energy savings.
By preparing your roof nicely, you can cover an investment in your building and enjoy multiyear energy efficiency and sustainability.