Introduction :
With electricity prices on the rise, and environmental concerns becoming a factor in everyone’s decision making process, solar power can be an effective solution for your home and business. But many are reluctant to make the jump because they are not sure where to even start with all of the installation.
It can help to know each stage, which will give you confidence and allow yourself to make an important investment. This blog post gives you a very clear rundown of what to expect when it comes to the solar installation process.
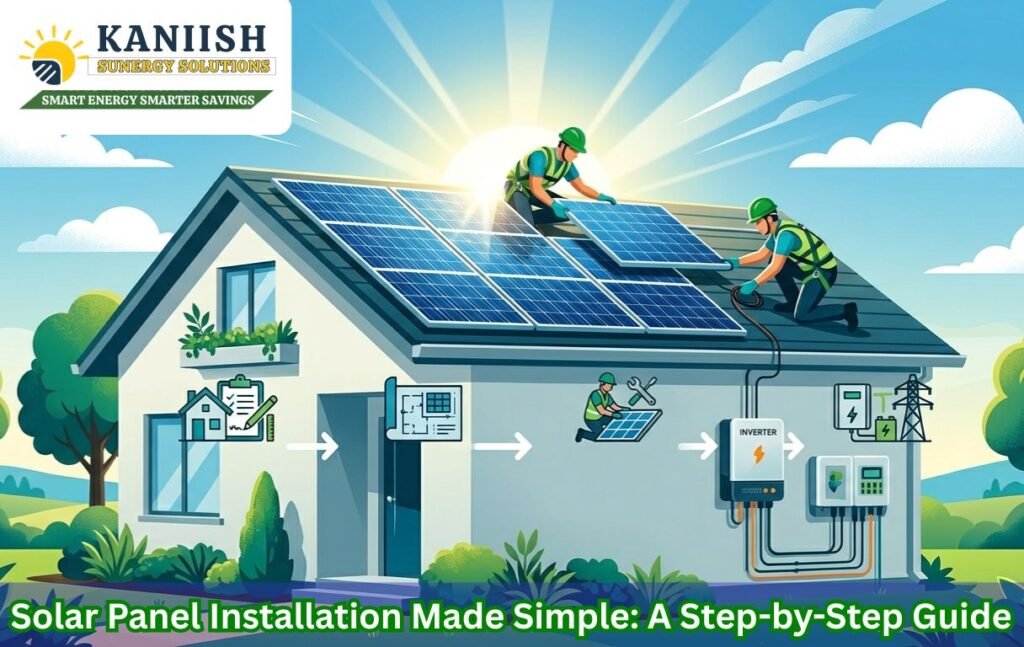
1. Initial Consultation and Site Assessment
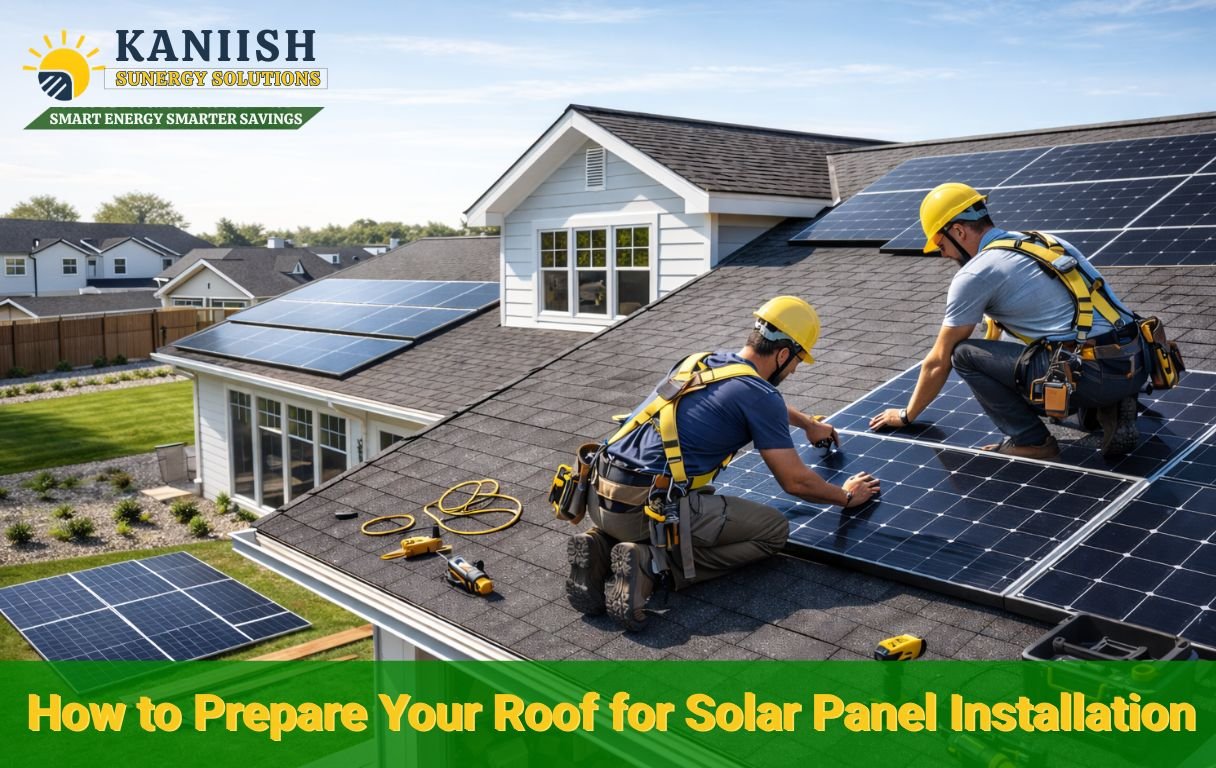
First you consult a solar provider. At this stage, specialists also look over your electricity bills, analyze your energy needs and check out your roof. They also assess your exposure to sunlight, shading and the available space on your property to see if it’s right for solar installation.
2. System Design and Proposal
Experts then take the assessment and develop a tailored solar system. They determine the number of panels, choose the appropriate kind and design how to lay them out. Next, they give you a detailed proposal with costs, expected energy savings and payback period.
3. Approvals and Documentation
Then you get the necessary approvals and permits. This includes approval from local bodies and electricity boards. Generally, your solar provider takes care of the paperwork, which guarantees that you meet all applicable regulations and saves you time.
4. Procurement of Equipment
Once the approvals are secured, the provider purchases all necessary components, including solar panels, inverters, mounting structures and wiring. If you’re at this stage, investing in better equipment will guarantee greater efficiency with longevity.
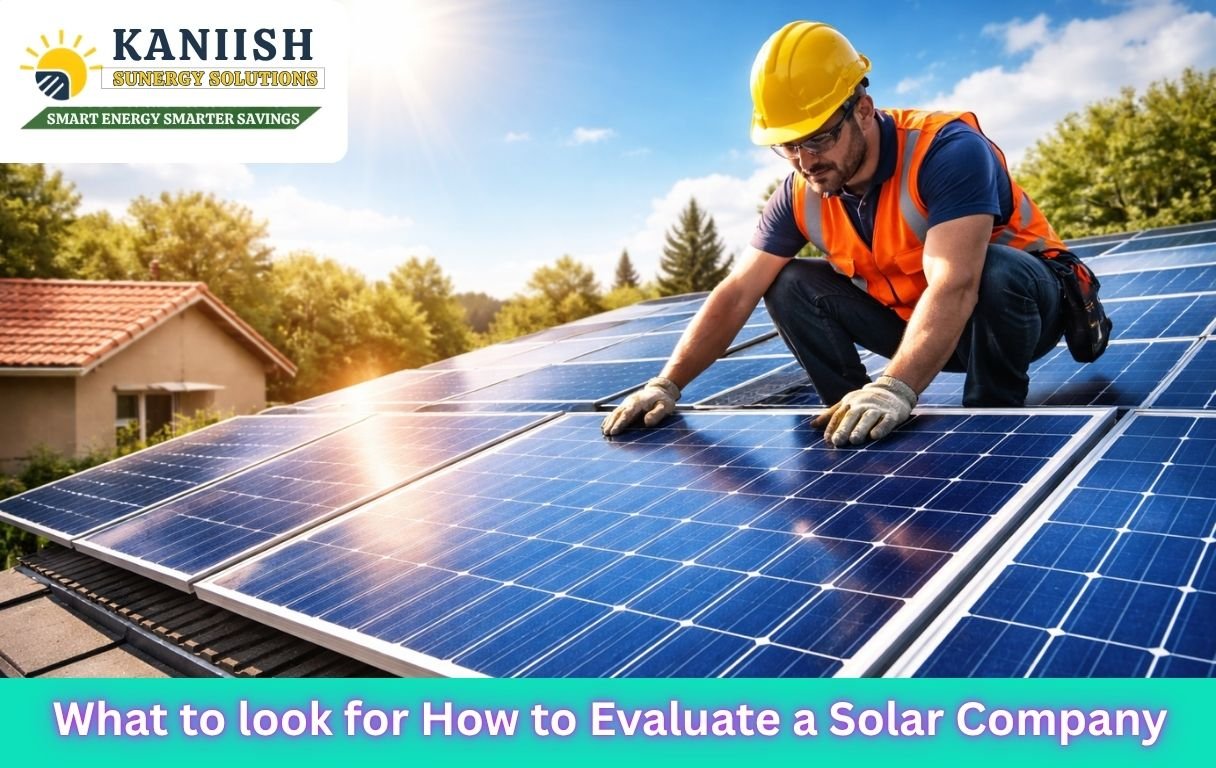
5. Installation of Solar Panels
The installation team then gets underway with the setup. They safely attach the solar panels to your roof or other place. Simultaneously, they position the blobs to correctly angle the panels, ensuring that sunlight is maximally harvested and offset.
6. Electrical Wiring and Inverter Setup
Then the panels are wired together by technicians. They mount the inverter, which converts solar power into electricity that can be used in your home or business. So, you will have your system ready for use.
7. Testing and Commissioning
After install is complete, the team tests the whole system. They inspect all connections, test performance and confirm safety standards. Finally, they switch on the system after verifying that everything is functioning properly.
8. Net Metering Connection
Often, you add a net meter to monitor energy consumption. The system tracks how much electricity you generate and how much you take from the grid. Hence, you could sell excess energy to the grid and save electricity bills.
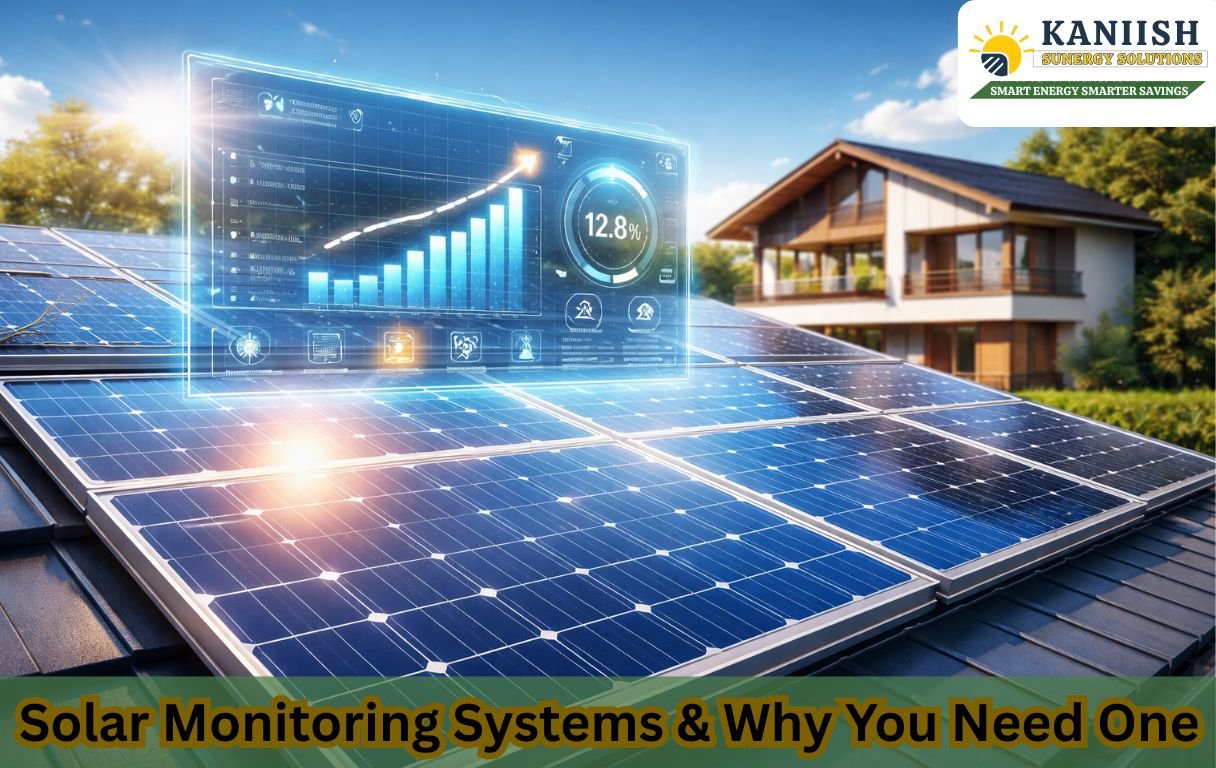
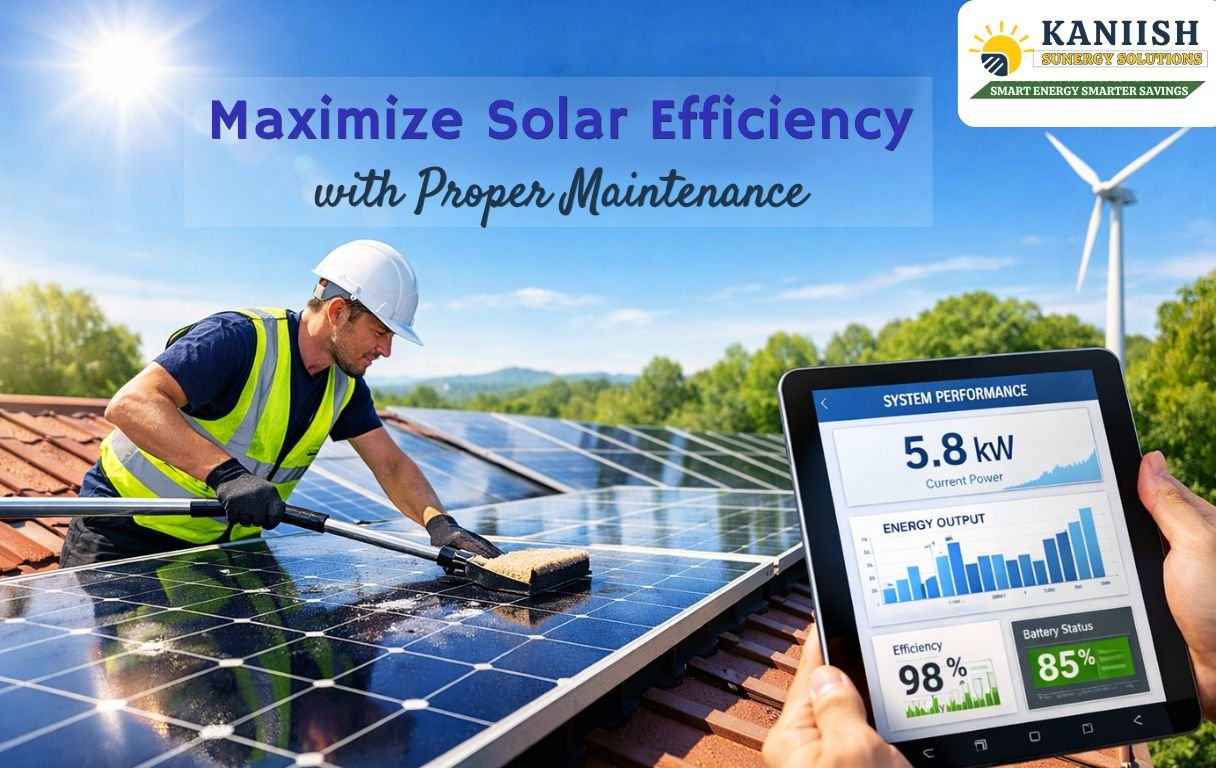
9. Monitoring and Maintenance
Once activated, your system can be monitored by mobile apps or tracking tools. In addition, regular cleaning and occasional checks keep performance high and prolong the life of the unit.
Conclusion
The installation process is fairly straightforward provided you take the right steps and work with a trusted provider. Each stage from consultation to commissioninging plays a vital part in guaranteeing safety and efficiency.
So, know the process & make an informed decision to switch over for solar energy with confidence. Therefore, you are able to save money in the long term and at the same time help protect a smarter and greener world.